The TeensyWiNo shield embeds an RGB (Red Green Blue) LED. This tutorial explains how to use this RGB LED and select colors on the TeensyWiNo.
Hardware
As we can see on the TeensyWiNo wiring, the RGB LED is wired on pins 5, 6 and 23.
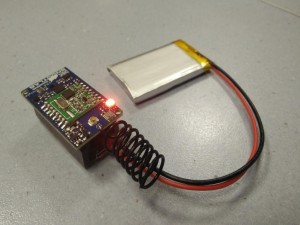
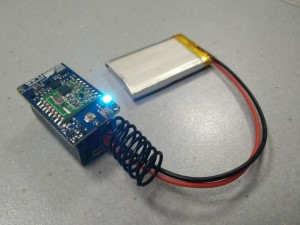
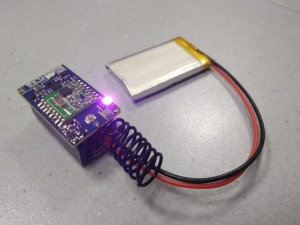
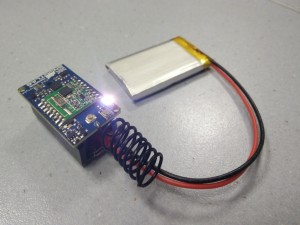
- Red color: pin #23
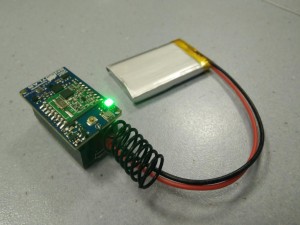
- Green color: pin #5
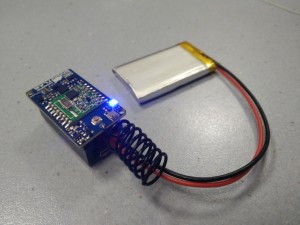
- Blue color: pin #6
On the Arduino sketch, the 3 pins must be declared as outputs. The following code excerpt enables the pins as outputs:
|
|
Put these lines in the setup() function.
Please refer to the pinMode() page on the Arduino Manual to get more information on this function.
Software
There are two ways to drive the RGB LED of the TeensyWiNo:
- Using boolean values (0% or 100%)
- Using PWM values (0% – 100%) to make color variations.
Each primary color can be individually activated: red, green or blue.
|
|
|
While combining the two primary colors, three others colors can be achieved: Yellow, Cyan and Magenta.
|
|
|
If the three primary colors are active, the resulting color is white.
|
Driving RGB LED with boolean values
The Arduino digitalWrite() function can be used to activate each primary color (Red, Green and Blue) independantly.
|
|
Please refer to the digitalWrite() page on the Arduino Manual to get more information on this function.
Driving RGB LED with PWM
The Arduino analogWrite() function can also be used to drive the 3 primary colors Red, Green and Blue with an 8-bit level (from 0 to 255); thanks to the PWM signal, the luminosity level can be set.
|
|
Please refer to the analogWrite() page on the Arduino Manual to get more information on this function.
The Teensy has advanced parameters for PWM driving. Please refer to the Pulsed Output: PWM Tone tutorial on PJRC website.